How To Perfect The 5 Must-Have Tee Shots Every Golfer Needs
These 5 essential tee shots, shared by an expert PGA professional, will supercharge your long game and boost your options with a driver in hand...

Mark Townsend
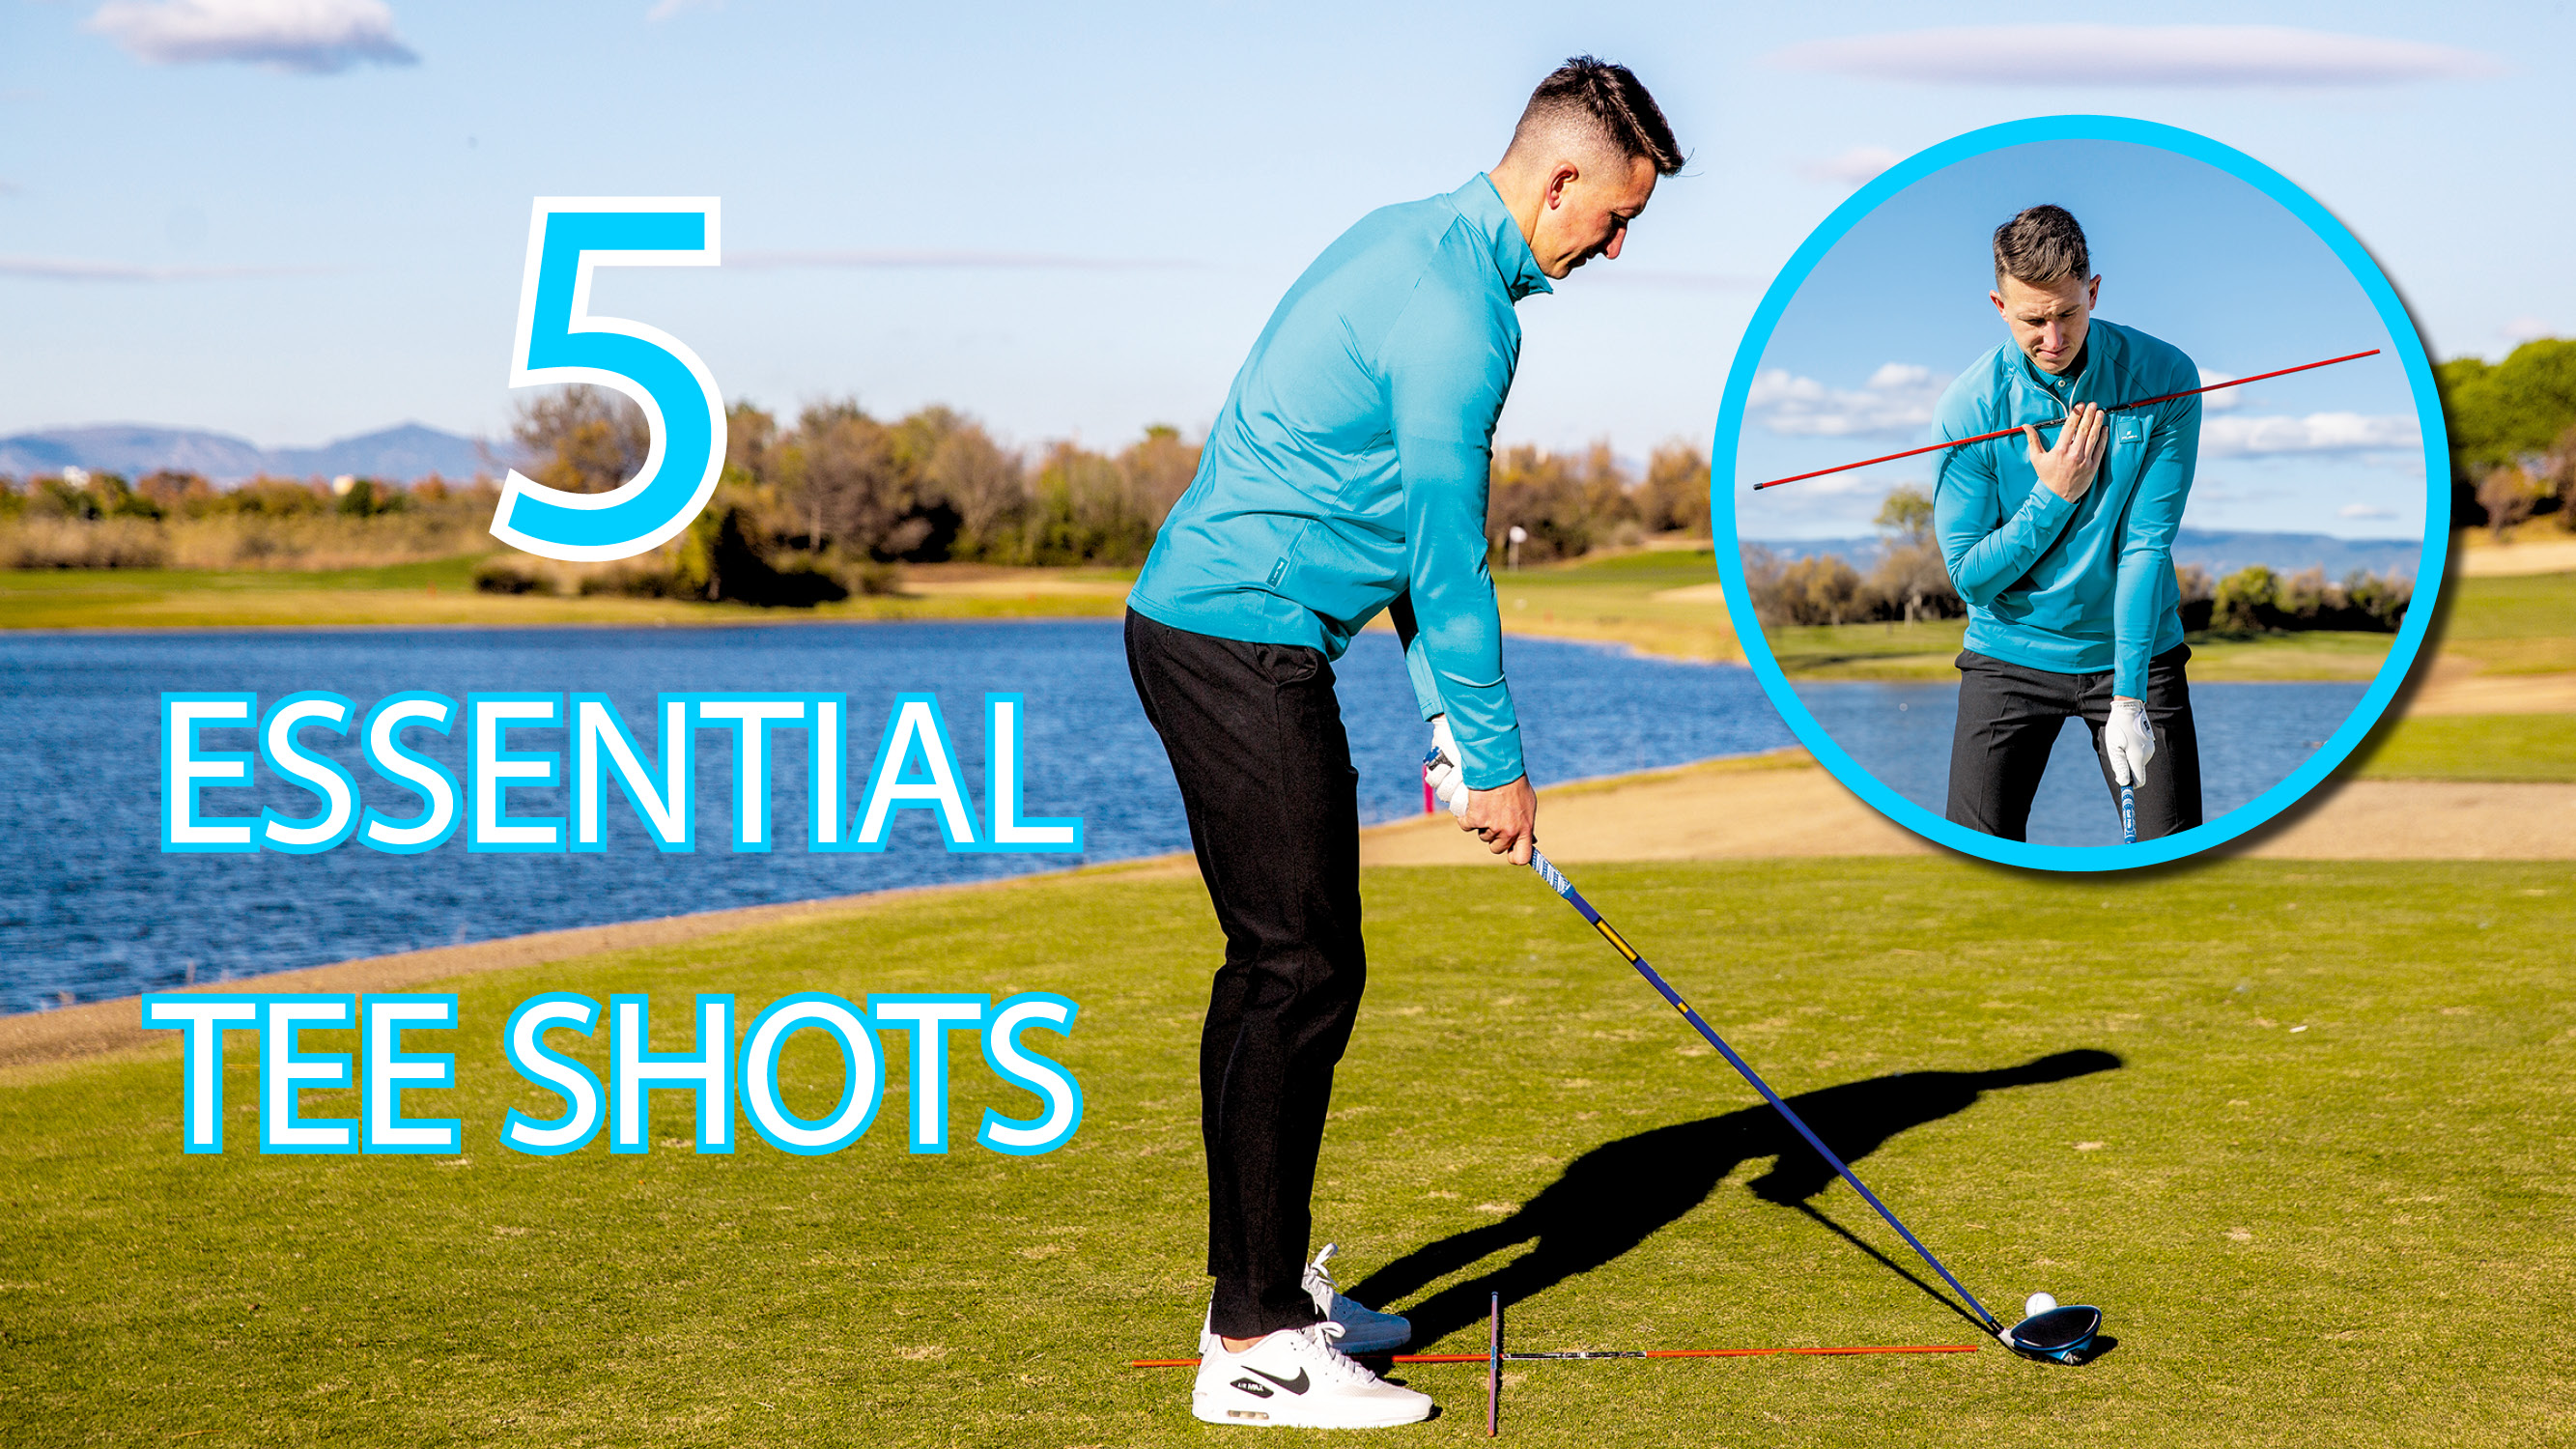
The golf course asks lots of questions and, off the tee, we need to be able to mix up our drives, as the ability to hit various shots with the big stick will put us in position to make more birdies and shoot lower scores.
Many of us are comfortable with one type of tee shot, but come unstuck when we face one outside our comfort zone. We play different courses in different conditions and different winds, though, so being able to make your driver as great an asset as possible can lead to big improvements.
In this article, Golf Monthly Top 50 Coach Gary Munro talks us through five must-have tee shots that every golfer needs, as well as sharing his expert tips to help you execute them...
1. The Stock Drive
Ball position for a stock tee shot with a driver is inside the lead ankle. You want your stance to be just more than shoulder width, which will help to give you a stable base. This builds a set-up that will encourage both balance and a more solid strike.
Set up with half a ball above the crown of the driver, which will help you to launch the ball in the optimal window. Golfers still tee the ball too low as, naturally, their swings are steeper and they hit more over the top and down.
By doing this, yes, it allows you to hit the sweet-spot more but you also launch the ball too low and with too much spin. And if you tee it higher with this type of over-the-top move you are going to sky it, so you need a better shoulder set-up with some tilt.
You need to understand that the driver needs to be rising at impact – this will help you to find the sweet-spot and get that correct launch and spin.
Subscribe to the Golf Monthly newsletter to stay up to date with all the latest tour news, equipment news, reviews, head-to-heads and buyer’s guides from our team of experienced experts.

A small amount of shoulder tilt in your set-up will help you hit up on the ball by, ideally, around 2-3˚. You are looking to create a 90˚ shoulder turn, if not more, as well as a hip turn, and you want plenty of width in your backswing.
There are two good tips to help: to create the hip turn, you want to feel as if your right pocket is being pulled behind you; to create the shoulder turn you want to feel like your left shoulder is moving across your body more towards the inside of the right foot.
Another alternative feel for the latter is, instead of focusing on your left shoulder, feel like you are pulling your right shoulder back as far behind you as possible. Have a play around with both as these are good ways to help you focus on both sides of the body swinging back.
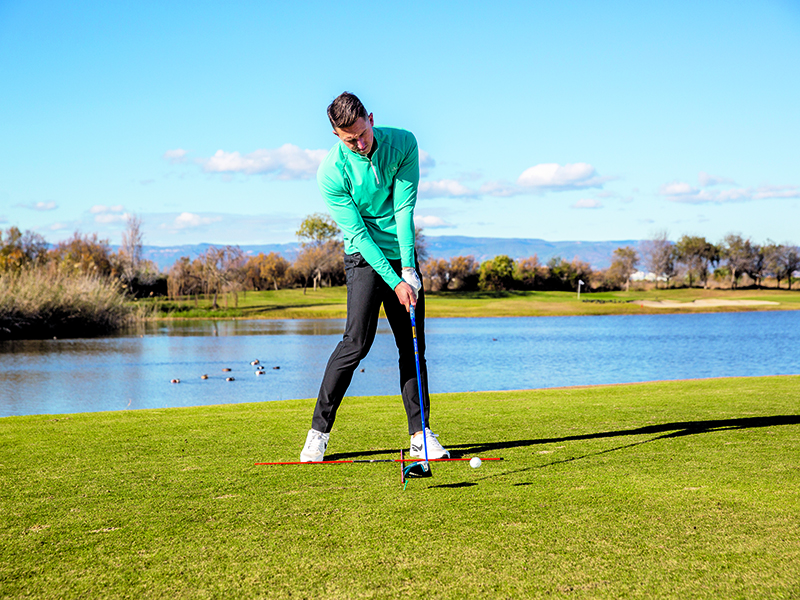
In terms of impact, you are looking to hit up on the ball slightly while unwinding and turning the hips and chest through impact to create speed and stability off the clubface.
My shoulder angle is very similar to how it would be at set-up, with the degree of shoulder tilt more or less the same as it was before the takeaway. The only difference is that we now have some rotation in the body and it is this that enables us to swing up on the ball naturally.
2. The Extra 10 Yards
To hit a bomb you need to increase clubhead speed. To help with this, the stance should now be wider than shoulder width, which will naturally give you more shoulder tilt.
Now you are standing more behind the ball with your upper body. A great way to find this position is to drag your right hand down past the right knee. This will help you hit up on the ball by 4-5˚.
Keep your body there, then place your hand on the grip, rather than letting your legs also move back. Now your head will be behind the back of the driver or in line with it.
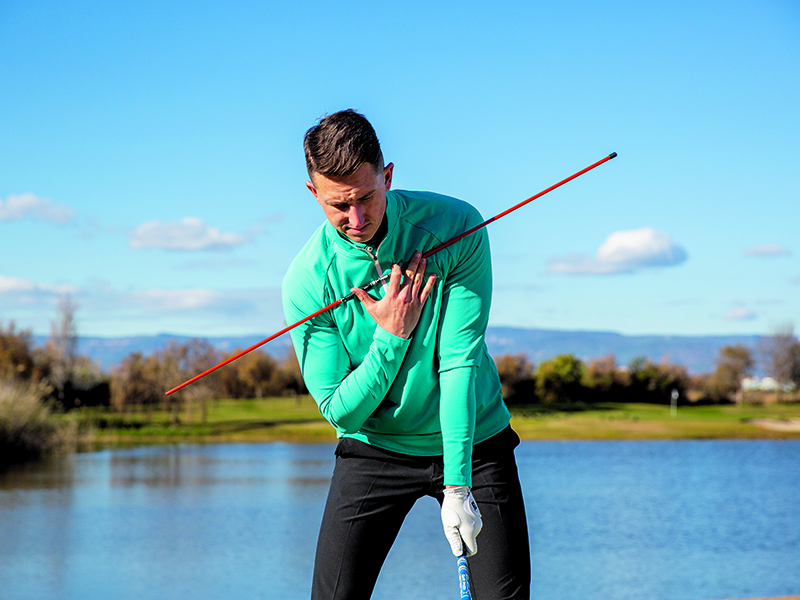
As you are looking to hit the ball further and launch it with more speed, you need to tee the ball higher. You should now have three-quarters of the ball above the crown at address. Because of your new set-up position, you do not need to change your weight distribution so keep that at 50-50 with your feet – again it’s just your upper body that is tilted back.
Be sure not to sink back, otherwise you will just hit the ball too high off the back foot and you won’t get any distance. To increase clubhead speed you are looking for an even bigger wind-up – a good feeling is to get your left shoulder turning all the way behind your right foot.
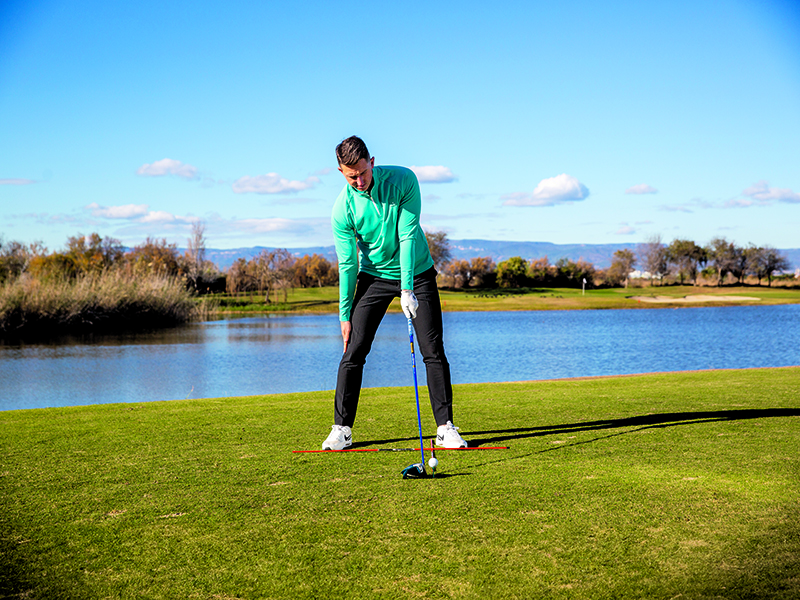
Pushing off the ground is a great way to create extra distance, and a huge speed source that isn’t talked about enough. At the start of the downswing, if you can feel like you’re pushing into your lead foot naturally, you’re going to push off and react to that – and this creates more clubhead speed.
The left leg will start to extend and push up, which also helps with the correct angle of attack. These factors can add 5mph of clubhead speed very easily and a good example would be Rory McIlroy. If you watch him hit driver, he really pushes down and then almost jumps up at impact.
You’re looking to retain those shoulder angles at impact while returning your hands and clubhead in line with each other. You are still returning similar loft but just hitting up on the ball. Remember, you’re not trying to add loft but rather some tilt.
3. The Stinger
The stinger/low drive is a great one to have in your locker. Ball position is now two ball widths back of the lead ankle but with hands in the same position as if the ball was forward in the stance. You’re de-lofting the driver by putting it back but don’t lean your hands back.
Tee the ball down as you’ll be hitting down on it, with a quarter of the ball now above the crown. With your hands in front and the ball set back and teed lower, grip down the club. To help with this, stand slightly closer to the ball, which will also make the swing a bit steeper.

In the backswing, you are looking to stay more centred and on top of the ball as you take the club back. You’re not looking to turn your left shoulder behind the ball any more, but more on top. This will shorten the swing a bit and help you to hit down on it.
The key part is that you are looking to cover the ball with your chest and de-loft the driver to make sure that it comes out low with not much spin. The follow-through will be abbreviated, which will help reduce any unwanted loft through impact and encourage a ball flight that doesn’t spin too much and stays low.
4. The Fade
For the fade, you want the face slightly open to the path that you are swinging on. People don’t understand that the clubface still needs to point slightly left of the target at impact but that it will also be open to the path.
With a lot of amateurs, a fade starts right of the target. If you want the ball to finish at the flag, it has to start left of the target. So, aim the face where you want to start the ball and aim your feet and shoulders left of, or open to, the target.
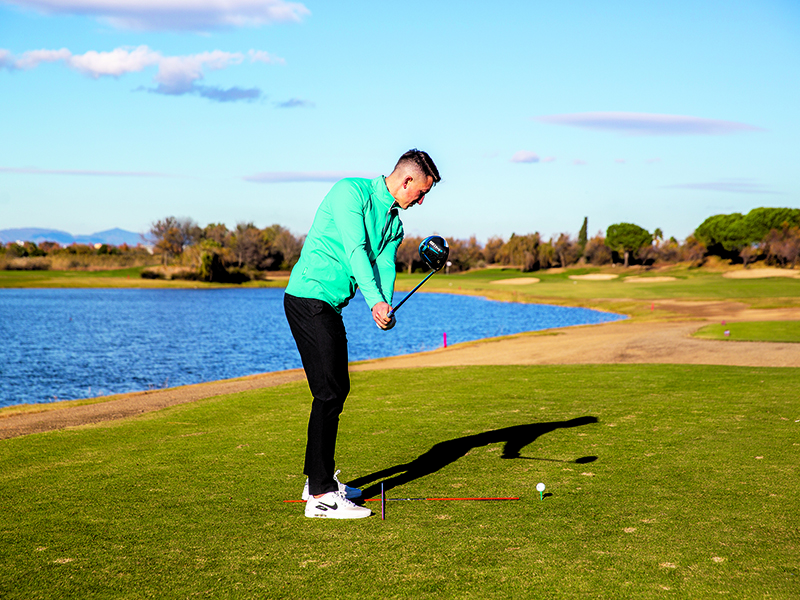
Your ball position is going to be slightly further forward in your stance and this will enable the swing path to be working more out to in. The further left of target you aim the body, the greater the amount of fade you will create. The club will swing in the same direction as your shoulders and feet are pointing. In the takeaway, a good reference halfway back is for the clubhead to be just outside your hands.
5. The Draw
To create a draw, point the clubface where you want to start the ball. The ball position should be one ball width further back in your stance so you hit it earlier in the swing arc to create that in-to-out path. Then, pull your right shoulder and trail foot back. The more you pull them back, the bigger the draw you’re going to generate.
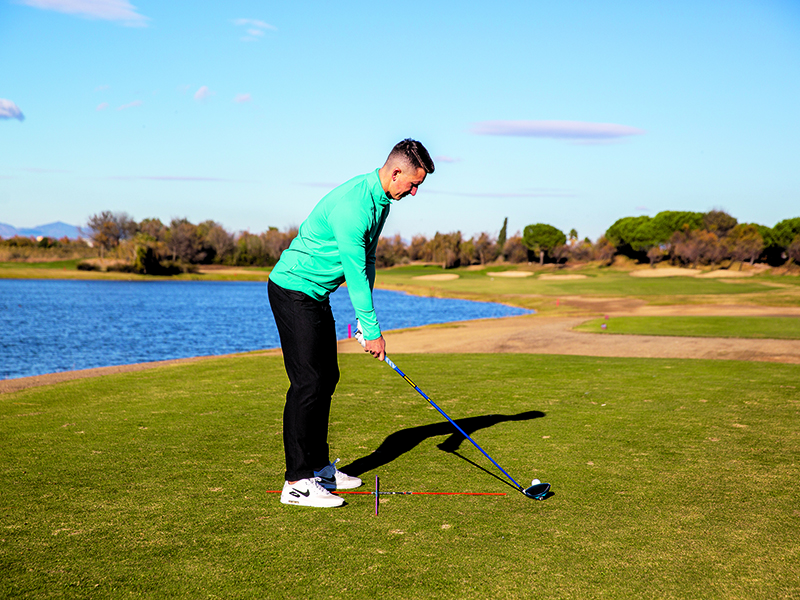
Swing the club in the direction of where your feet and shoulders are pointing and make sure the face points more towards the ground in the takeaway, enabling it to be closed to the path to create draw spin and that lovely shape.

Location: Pitch Golf London & Bedfordshire Golf Club
Gary is Director Of Golf at Pitch London. He is involved in the launch of the next Pitch site in Soho, which will open up the game to all levels. He is a big believer in equality and showcasing how fun golf can be for everyone. Gary has also coached at county level, and as County Manager has overseen a number of league wins for the U18s (Bedfordshire).
Teaching philosophy:
I don’t have a set model of swing that I coach and force on people - but impact and ball flight are everything, so I work it back from this. What impact characteristics does this player need to hit the shots and shoot the best score?
Advice for practice:
Split your practice into three sections: technical practice, skill practice (working on hitting different shots, for example, high, medium, low shots and shaping the ball) and finally pressure practice.
Students learn best when…
They self-discover. I don’t believe in coaches jumping on a player shot by shot giving more and more conflicting information, which can become confusing. I like my players to learn about their tendencies. I ask questions, allowing them to learn when they move well and why it’s good. I do the same for bad shots and ask them what they think caused that. Let them self-evaluate an answer so they develop the skill.
- Mark TownsendContributing editor